Remote Support
With TeamViewer
SOFTWARE INSTALLATION
In order to best respond to your request for assistance, our technicians may ask you to install remote control software for your machine : Teamviewer.
We will detail here the complete installation of this free software on your PC for Windows© only.
![]()
https://get.teamviewer.com/tvwvp
Note : this version of TeamViewer is a tool adapted to Visual Planning assistance whose interface is simplified.
When clicked, this window is opening:
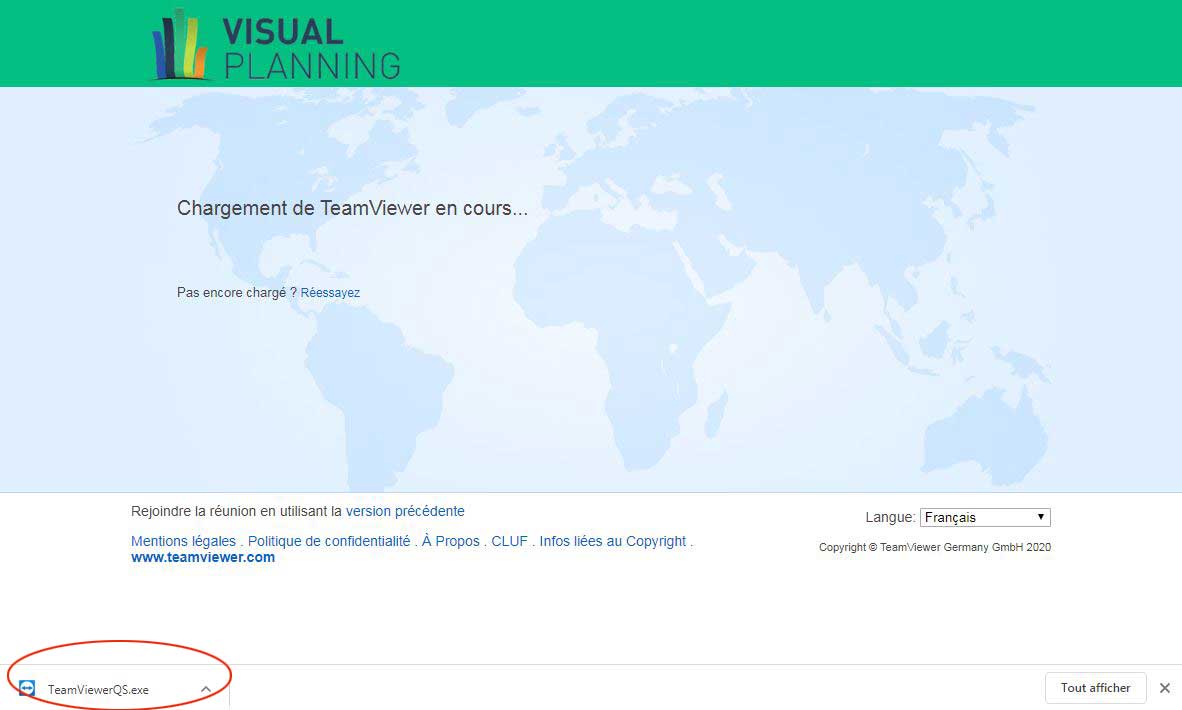
Click on the installer that has just downloaded (17.2 MB) at the bottom left of your browser to launch the installation (or find this program in the “Download” directory of Windows©).

Then click on “Run” to start the installation. The computer will then ask for your permission to install the software.
Then click on “Yes” to accept.
After a few seconds, the connection interface is displayed:

Then you must communicate your ID number “Votre ID” (9 or 10 digit number) so we can access your computer. The password is saved automatically during the session.
SOFTWARE SETTINGS
To access the software configuration, click on the interface configuration symbol (in red).

Once the TeamViewer configuration tool is open, you can see 3 tabs.
GENERAL TAB
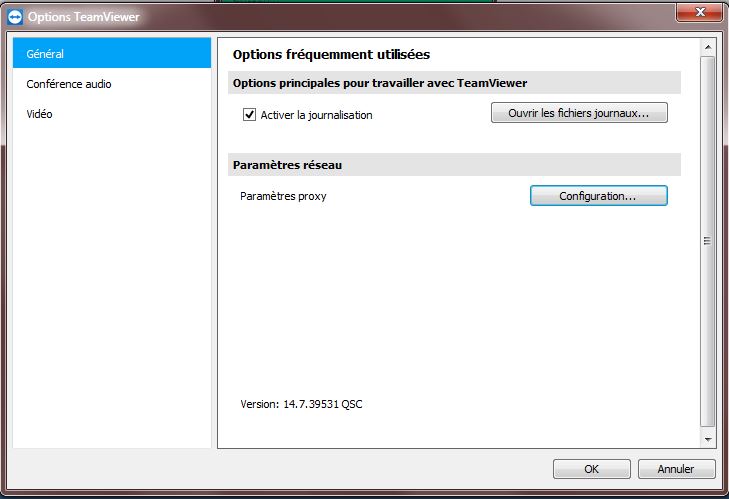
This section is for log activation and proxy settings. Unless a technician requests it, you should not make any changes here. You will also find the current version of the software at the bottom of the page.
AUDIO CONFERENCING TAB
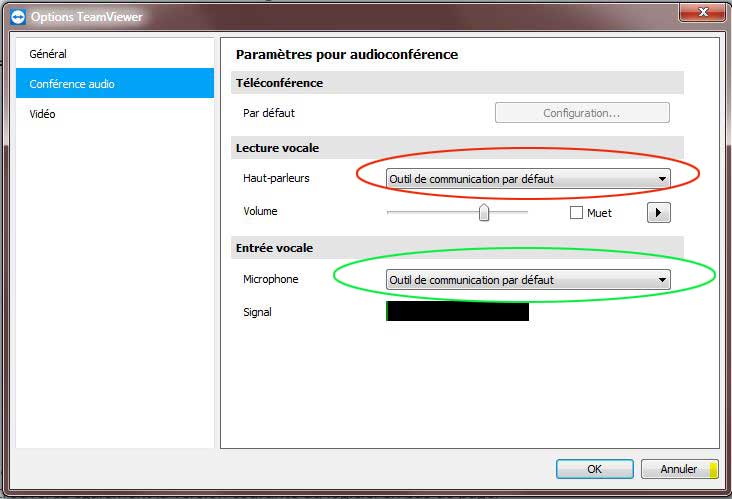
In this section “Settings for audio conferencing” you can configure your audio and video equipment.
First select the “Voice playback” of your Speakers in red (usually the card or the associated sound chipset of the machine) by adjusting the volume if necessary (to 100%). If you are not sure of your choice, select the Default Tool.
Then do a test with the play button:![]() You shoud hear a clear sound.
You shoud hear a clear sound.
Then select the “Voice Input” in green (usually the microphone associated with your computer’s webcam). If you are not sure of your choice, select the Default Tool. By speaking into the microphone, you will be able to see the sound signal displayed and which will confirm the correct configuration of TeamViewer.
VIDEO TAB
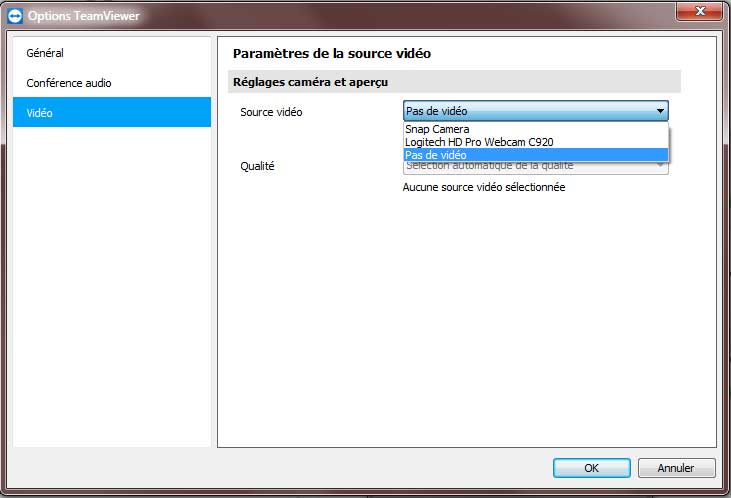
Here you can configure the camera during your sessions with our team. Note that we rarely use this feature.
Select the video source (your default webcam), selecting the quality in “Automatic selection” mode.
Please note: using the camera requires a lot of bandwidth. Depending on your connection type, the quality of the intervention may be degraded if you activate the video mode.
The software configuration is now complete.
